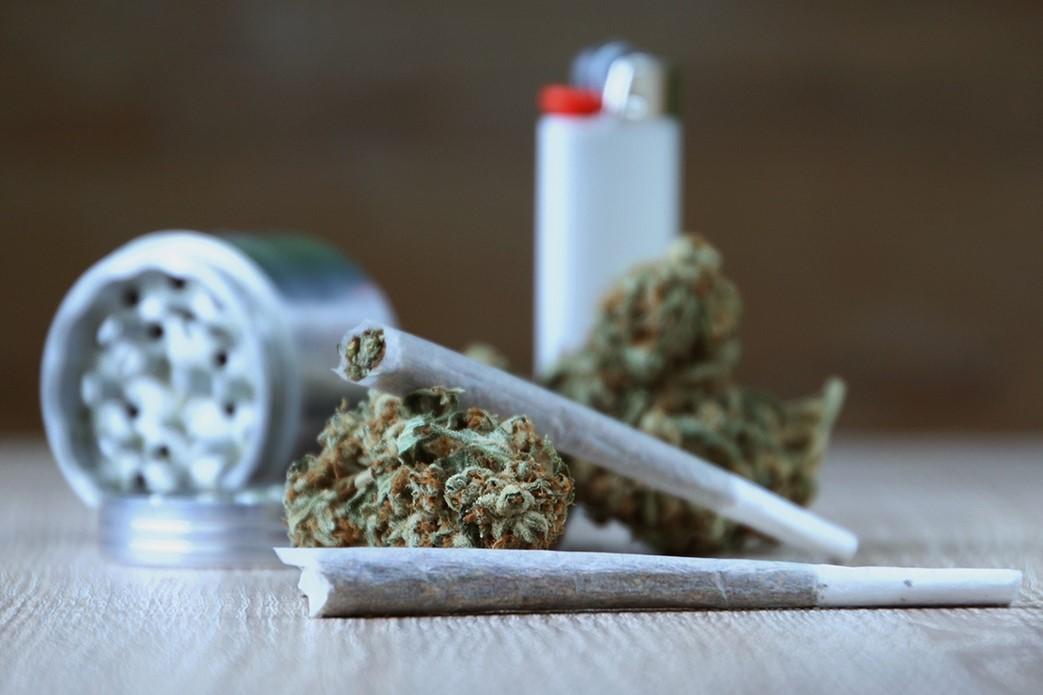
What you need
The basics are dried flower, rolling papers and, ideally, a grinder. A filter tip and something to pack the end, like a pen, are optional but make the job easier.
- Flower: any dried flower works. A typical joint holds 0.25 to 1 g, according to Wikipedia's entry on joints; a smaller one is easier to roll and to finish.
- Grinder: gives the even, fluffy texture that makes rolling easier.
- Papers: a 1 1/4 size in a medium-weight paper is a forgiving start. The beginner's guide to rolling papers compares materials and sizes.
- Crutch: a strip of thin card, also called a filter or roach. Some paper booklets come with tips.
- Optional: a rolling tray to catch spills and a pen or poker to pack the end.
How to roll a joint in 9 steps
Lay everything out on a clean, flat surface first, and go slowly the first few times.
- 1. Grind. Pick out stems and seeds, then grind until the flower is in small, even pieces but not powder. Powder packs too tight to draw air through, and big chunks leave gaps that burn unevenly.
- 2. Make the crutch. Fold one end of a card strip into a few small accordion folds, like a W, then roll the rest of the strip around it into a little cylinder about as thick as you want the joint.
- 3. Fill. Hold the paper with the glue strip facing up along the edge farthest from you, and set the crutch at one end. Sprinkle flower evenly along the crease and leave the glue strip clear.
- 4. Shape. Fold the near side of the paper up over the flower without sealing it. Pinch it between your thumbs and index fingers and roll it back and forth until the flower forms an even, firm cylinder.
- 5. Tuck. Push the near edge of the paper down and under the flower, starting at the crutch end, where the card gives you something firm to tuck around. This is the step that takes practice.
- 6. Roll. Keep the tuck in place and roll upward with your thumbs, working along the length, until only the glue strip is showing.
- 7. Lick. Moisten the glue strip lightly. Too much spit makes a soggy seam that will not hold.
- 8. Seal. Press the strip down and run a finger along the seam from one end to the other.
- 9. Pack. Tap the joint crutch-end down, then use a pen or poker to tamp the open end until it is firm but not tight. Twist the extra paper at the tip closed.
Common mistakes and how to fix them
Most lumpy, loose or fast-burning joints come down to one of these.
- Too much flower. An overfilled paper will not tuck. Start with a thin, even line and add more next time.
- Uneven spread. Lumps at one end and gaps at the other cause runs and canoeing, where one side burns faster than the other. Spread the flower evenly before you shape it.
- Packed too tight or too loose. A tight joint is hard to draw on; a loose one burns fast. Aim for firm, like a pencil, not hard.
- Over-licking. A wet gum line peels open. A light touch is enough.
- Skipping the crutch. Without one, bits of flower get pulled into your mouth and the end goes soggy. A filter also protects your fingers from burns.
- Small tears. Patch them with the glue strip from a spare paper, or start over with a fresh sheet.
- A canoe after lighting. Dab a little water on the side that is running ahead, and next time rotate the joint while you light it.
Cone vs straight joint: which should you roll?
A straight joint is the same width from end to end, so it holds the same amount of flower all the way down. That makes it the easiest shape to learn, and it is the shape the steps above make.
A cone is wide at the lit end and narrow at the crutch. To roll one by hand, put more flower at the far end and less near the crutch, then roll at a slight angle so the paper widens toward the tip.
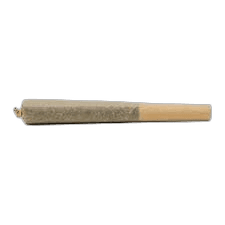
If rolling is not clicking, pre-rolled cones skip it: you just fill and pack them. A rolling machine is the other shortcut: lay the paper in the open roller, spread flower along the crease, close it and roll it toward you, then moisten the glue strip and roll it shut.
- Straight: easiest to learn, burns evenly, needs only papers and a crutch.
- Cone: more flower at the lit end, trickier by hand, simple with pre-made cones.
- Machine: consistent shape every time, but you still have to load it evenly.
Lighting and smoking it with less risk
Hold the flame just off the twisted tip and rotate the joint until the whole end glows evenly, then take a small first puff. A step-by-step guide to lighting a joint covers this in more detail, and some people prefer a hemp wick to a lighter.
Holding smoke in does not make a joint stronger. In a controlled study of regular smokers, holding each puff for 20 seconds raised the carbon monoxide they absorbed, and the authors concluded that prolonged breath-holding does not substantially enhance the effects of cannabis smoke (Zacny and Chait, Psychopharmacology). Canada's Lower-Risk Cannabis Use Guidelines also advise against deep inhalation and breath-holding because they pull more toxic material into your lungs. Take shallow puffs, start with 1 puff and wait up to 30 minutes before the next, and do not drive or operate machinery for at least 6 hours after using cannabis.
For methods, dosing and other ways to cut risk, see how to smoke weed with lower risk.
How to save a half-smoked joint
Let the joint go out, or press the lit end gently against an ashtray until it stops smoking, then tap off loose ash. Only put it away once it is fully out.
Store it in a small airtight container, such as a jar or a tube, somewhere cool and dark. In a 2020 study in Frontiers in Plant Science, Technion researchers found that grinding made cannabis lose terpenes faster than storing whole buds, that room temperature (25°C) caused the largest changes in cannabinoids, and that storage colder than minus 20°C was also hard on terpenes. In practice: roll close to when you plan to smoke, and do not count on the freezer.
Wherever you keep it, keep it locked away and out of reach of children and pets. Health Canada warns that children are at risk of accidental poisoning from improperly stored cannabis.
Buying papers or pre-rolls in Toronto
GasDank delivers same day across Toronto and the GTA, usually within 1 to 2 hours, and ships mail order across Canada. You can browse rolling papers, or skip the rolling with pre-rolls. Customers must be 19 or older (21 in Quebec), and ID is checked at the door.